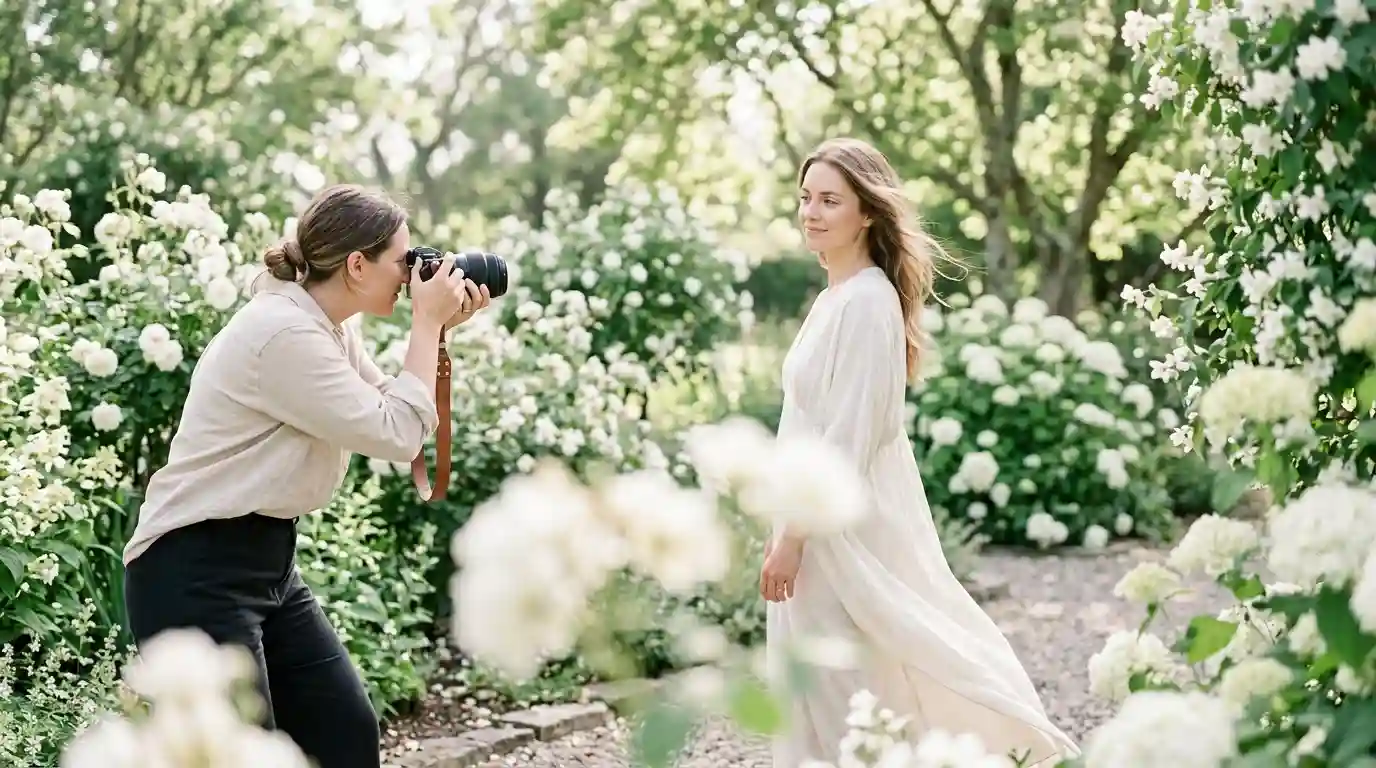
Over time, I learned that creating this style is about more than applying a filter. The best results come from understanding natural light, choosing the right camera settings, and making thoughtful adjustments during editing. Whether you photograph people, landscapes, everyday moments, or beautiful destinations, light and airy presets can help you develop a consistent visual style.
What Are Light and Airy Photography Presets?
Light and airy photography presets are collections of editing adjustments designed to create brighter images with soft contrast, delicate colours, and a clean, natural appearance. They are commonly used in portrait, lifestyle, wedding, family, and travel photography.
These presets typically brighten midtones, soften harsh contrast, open up shadows, and create a balanced colour palette. Some introduce subtle warmth, while others produce a cooler, more neutral finish. The goal is to preserve the character of the original photograph while giving it a light, inviting atmosphere.
Unlike a heavy filter, a well-balanced preset should not erase important details. Skin should still look natural, white clothing should retain texture, and bright skies should show as much detail as the original photograph allows.
My Journey Toward a Softer Photography Style
When I began exploring softer photo editing, I realised that increasing brightness alone did not create the look I wanted. Some images became pale, others lost their contrast, and certain colours appeared unnatural. The missing ingredient was balance.
I started paying closer attention to the direction of light, the colours in the background, and the way highlights interacted with shadows. I also learned to make small adjustments instead of changing every setting dramatically.
This approach gradually helped me understand how a consistent editing style can bring photographs together. The same principles can be useful when capturing a memorable trip, documenting a special occasion, or creating images inspired by destinations such as Dubai’s attractions or the scenic locations featured in our guide to the Peloponnese.
Why Light and Airy Presets Are So Popular
1. They Create a Bright, Welcoming Atmosphere
Bright photographs often feel open and inviting. Soft highlights and carefully lifted shadows can help viewers notice expressions, textures, and details without being distracted by overly harsh contrast.
2. They Help Maintain a Consistent Gallery
Using a carefully chosen preset across a collection of photographs can create a more unified appearance. This is particularly useful for photographers who publish travel stories, lifestyle galleries, or social media collections. However, each image may still need individual exposure and white balance corrections.
3. They Complement Natural-Light Photography
Window light, open shade, and softly illuminated outdoor settings are excellent starting points for this editing style. When the original lighting is suitable, a preset can enhance the atmosphere without requiring extensive adjustments.
How to Choose the Right Light and Airy Preset
Not every preset produces the same result. Some create a warm, creamy appearance, while others emphasise clean whites, muted greens, or a subtle film-inspired finish. The right choice depends on your subject, lighting conditions, and preferred colour style.
- Warm and creamy presets: Suitable for family portraits, romantic sessions, and lifestyle photographs.
- Clean and neutral presets: Useful for minimalist compositions, interiors, and photographs where accurate colours matter.
- Soft pastel presets: Work well with floral scenes, spring landscapes, and delicate colour palettes.
- Film-inspired presets: Add a gentle nostalgic character while retaining a softer overall appearance.
For travel photography, consider the atmosphere of the destination rather than applying the same look to every image. Photographs of Ireland in winter may benefit from a different colour balance than sunny scenes from California or the locations in our guide to summer in Greece.
How to Create a Light and Airy Look in Lightroom
Step 1: Start With a Well-Exposed Photograph
Choose an image with useful detail in both bright and dark areas. If possible, photograph in RAW format to retain greater flexibility during editing. A preset cannot fully repair severely clipped highlights or missing shadow detail.
Step 2: Correct White Balance
Adjust temperature and tint until whites look believable and skin tones appear natural. Avoid adding excessive warmth simply because you want a dreamy result. The correct balance depends on the original light source and the colours in the scene.
Step 3: Adjust Exposure and Highlights
Increase exposure gradually if the photograph needs more brightness. Watch the histogram and highlight warnings to avoid losing detail in skies, pale clothing, or bright backgrounds. Reduce highlights when necessary to preserve texture.
Step 4: Soften Contrast Carefully
Lift shadows slightly and reduce excessive contrast where appropriate. A gentle tone curve can create a softer appearance, but avoid flattening the image so much that it loses depth and definition.
Step 5: Refine Colours and Skin Tones
Adjust saturation selectively instead of removing colour from the entire image. Greens may need subtle refinement, while skin tones should remain believable. Compare the edited image with the original to ensure that the result still represents the scene accurately.
Step 6: Apply the Same Style With Individual Adjustments
Once you have a look you like, apply the preset to similar photographs and fine-tune each image separately. A preset is a starting point, not a guarantee that every photograph will need identical settings.
Using Light and Airy Presets for Travel Photography
Travel photography offers many opportunities to experiment with soft, luminous editing. Coastal scenery, historic streets, gardens, mountain views, and sunlit architecture can all work well when the original exposure and colours support the style.
For example, the landscapes and historic settings in our guides to Rome, Lebanon for couples, and Alberta in summer provide different creative settings to consider when planning a photography trip.
For urban photography, you might explore the locations covered in our guides to Delhi in summer, Lonavala, and Bangalore. Each destination presents different lighting conditions, so adapt your editing to the actual scene rather than forcing every photograph into one colour palette.
Other travel inspiration includes affordable destinations across Europe, Texas during spring break, summer destinations in the USA, and family-friendly places in the USA. These ideas can help you plan subjects and settings for your own photography projects.
For outdoor scenery with a cooler atmosphere, you can also draw inspiration from Stanley Park, cold-weather destinations, and unique places around the world. Preserve the natural mood of each location instead of making every scene look artificially sunny.
Common Mistakes to Avoid
- Overexposure: Excessive brightness can remove detail from skies, clothing, and faces.
- Washed-out skin: Lower contrast and higher exposure should not make people look grey or unnaturally pale.
- Excessive desaturation: Muted colours can be attractive, but removing too much colour makes images lifeless.
- Ignoring the original lighting: A preset designed for soft daylight may not suit a dark indoor scene without substantial adjustments.
- Editing every image identically: Consistency matters, but photographs taken under different conditions still need individual corrections.
Final Thoughts
My appreciation for light and airy photography comes from discovering how small, thoughtful editing decisions can change the feeling of an image. The best results are rarely produced by brightness alone. They come from balanced exposure, natural colours, soft contrast, and an understanding of the light captured by the camera.
Start with a preset that suits your photography, make careful adjustments, and develop a style that feels authentic to your subjects. With practice, you can create bright, gentle photographs that retain their detail and tell a story without relying on excessive editing.